Showing posts with label Mantis Rototiller. Show all posts

Friday, May 10, 2024

The Method -- Part II

Garden Plants in Waiting
The Method that I employ to prepare a backyard of clay soil for extensive gardening efforts involves a number of steps. This method, which I developed over a number of years, is pulled from personal gardening experience and an understanding of what works in the garden and what doesn't. This method was also pulled from the experience of watching others and the style that they employed.

I also strongly believe that the method that commercial farmers use is a big recipe for success. Commercial tomato farmers concentrate on one crop and one crop only for the most part: the variety of tomato known as the "processing tomato." Today's processing tomatoes resemble pear-shaped tomato fruit, also known as "roma."

It wasn't always this way. In fact, many heirloom tomatoes grown today once did double duty as processing tomatoes from a different era. Campbell's 1327 comes to mind as an example. This was the variety that was once widely grown for Campbell's famous Tomato Condensed Soups. There are others.

Garden Area
Clearing the garden area of weeds with a lawn mower, weed eater and a normal shovel to dig out the pesky Mallow is the first step in the process. The second step is a "first chop" with the Mantis Rototiller. These steps, which I outlined in a previous blog posting, end with the result of four to six inches of loose soil. It's a good start. But I want more. The third step that I employ will wear a gardener out. It can take hours to achieve the end result. It's a step, however, that helps to achieve the results that I want.

Four to six inches of loose clay soil isn't enough. I want a deeper cut. The only way for me to accomplish this cut is to employ an old fashioned shovel and get to work. The shovel is used to dig up every square inch of garden area. This "cut" into the garden soil brings up big chunks of soft clay soil. Those chunks are turned over. By the time I'm done with this step, the garden soil looks like row after row of large, brown marshmallows. It also results in 12-16 inches of loose garden soil over the entire garden area. Every bit of it, from one side to the other, is lifted up and turned over.

Employing this method also tells me just how healthy my clay soil really is. Garden soil should be alive with living organisms. This includes worms, both large and small. Turning the soil over and breaking up clay chunks with the shovel also allows worms to escape and dig deeper into the soil that I have just dug them out of. Which is exactly what I want them to do. Those big earthworms and many smaller wrigglers are exactly what I want in my garden soil. I don't want to commit the crime of chopping them up with the Mantis.

Chunky Clay "Marshmallows"
I will not lie to you. This step is not easy on the body nor is it quick garden work. It normally takes me three to four hours of pushing, pulling and grunting to accomplish the task. If that shovel does not easily slide into the soil below, I use the power of my feet and legs until it gets to a depth I'm happy with. This is a routine that is employed every time that shovel is placed into the ground. The goal is the deepest cut I can get, without snapping the shovel into pieces when I turn that big, gray dirt clod over. The goal also is not snapping my back into tiny pieces either. I'm not always successful.

This is a gardening method that I learned from a friend who I put to work in my garden one year when my pesky back gave out. He grew up on a small farm in Merdead (Merced) County. I had never witnessed anyone do this before. I never forgot it either. It had never crossed my mind to do something like this. This step is not easy. I must stress this. I run into all sorts of tree roots, rocks and other obstructions with each shovel full of clay that I bring up and turn over. Yet, I do understand that it is work that must be done.

If the clay soil will not give into the efforts of me jumping up and down on a shovel, I will employ a little strategy. That garden area might need a little more water. Again, the goal is a soft, pliable clay that a shovel will slice into, not a mud pit. If 30-minutes with a garden sprinkler and a bit of a wait will accomplish this task, that is the solution that I will employ. Time isn't the issue here. Getting that soil just right is. If this process takes a day, or I have to let the soil sit overnight after watering it, I will. If I need to stop and clip away pesky roots that are the size of small tree branches OR dig out large rocks, I will do that too.

Brain Vibration Tool
Once the garden area resembles one row after another of large, brown marshmallows, it's once again time to fire up the Mantis. This is the fourth step. The Mantis is put to work chopping those big, brown clay chunks into much smaller chunks. The goal is a fine soil, but I normally do not accomplish this goal until the final step of The Method. Fortunately, the fourth step is usually a bit easier than the first chop with the rototiller.

The work still leaves me with a vibrating brain by the time the chopping work is done. Fortunately, it doesn't vibrate for nearly as long. Employing a garden rake to level out the chop and achieve a semi-level garden area also cuts down on the vibration. The fourth step in the process leaves me with anywhere from one to two feet of loose garden soil. I do my level best not to step on it. This is the step that also cuts down upon, but does not eliminate, pesky garden weeds.

The goal I had of one to two feet of loose garden soil has been achieved. But, the work isn't done yet. The next step, which is step five in The Method, is amending the soil. The amendment process is just as important. If I can accomplish this goal now, it means I won't need to fertilize the garden once all summer. It will have all the nutrient matter it needs to keep producing an assortment of vegetables all summer long.

Garden Amendment Gold
It means nightly salads of heirloom tomatoes, slices of mouthwatering cucumbers and fragrant, fresh basil and oregano. The end result also means an entire summer's worth of zucchini and crookneck squash, sliced lengthwise, brushed with olive oil, coated in salt and pepper and cooked on an outdoor grill. The end result is also processed tomato sauces and salsas, both flavored and heated by heaps of garden bell and hot peppers. One small garden can produce a winter of summer delights.

I employ two products in the amendment process: These include bags of steer manure compost and bags of pellet fertilzer from my local big box stores (Home Depot and Lowe's). Both are spread out over the soil as equally as possible before the Mantis is employed one final time.

Adding amendments to the soil however, can be a bit tricky. It is highly possible to add too much of a good thing. The amendments I add will bring three important nutrients to my garden area: Nitrogen, Phosphorus and Potassium. By adding just enough, and not one tablespoon more, you will be rewarded with an enormously productive garden. Adding too much will result in a garden that grows well, but doesn't produce nearly as much as the previous year's garden did.

Amending the Soil
I've come to learn that covering every section of the garden with at least one inch of steer manure compost does the trick. I attempted to double up on that amount one year. Bad idea. Although I always experiment in my garden, this is one experiment that went awry. The goal is to feed your garden plants. Not burn or shock them into non-production.

I do know that there are other gardeners who employ chicken manure in the garden. I'm not one of them. Never had much luck with it. Composted chicken manure is far hotter than its steer manure cousin. If you employ too much of it, which I've done, the result usually isn't something to write home about. So, I stick with the tried and true method.

After stomping on my amended garden soil to spread out anywhere from 25-30 bags of steer manure compost, I also spread out about a bag and a half of pellet fertilizer. I've used many different brands to accomplish this task. I'm not going to recommend one brand over another, but I've had the most luck with the Vigoro brand of Tomato and Vegetable food. I purchase the 3.5 lb. sacks. I spread out about a bag and a half. The remaining half bag will be used to fertilize fruit trees and bushes over the summer months.

The Goal
The final step? Step six is putting the Mantis back to work for a third and final time. The steer manure compost and pellet fertilizer is worked deeply into the soil. This final chop also takes care of the clay dirt clods that didn't quite get broken up with the second chop outlined earlier. The end result, after raking the garden area as level as I can, is a smooth and amended garden soil. The final product will be a pleasing color of rich, dark, and amended clay that crumbles when touched. It is a soil creation that is perfect for what I want because it will keep my garden plants in production all summer long. Which is the goal.

Does this mean I'm ready to start planting? HEAVENS NO! The planting process is also "involved." Not quite as involved as the gardening preparation that I've just outlined, but there is yet another "method" to this gardening madness. That outline will come next. I've got some planting to do!

Toodles!

Wednesday, May 1, 2024

The Method -- Part I

2023 Summer Garden
It is that time of the year again, isn't it? After watching a massive pile of weeds take over a once pristine gardening area, the time has come to clear it all out and make way for the new summer garden.

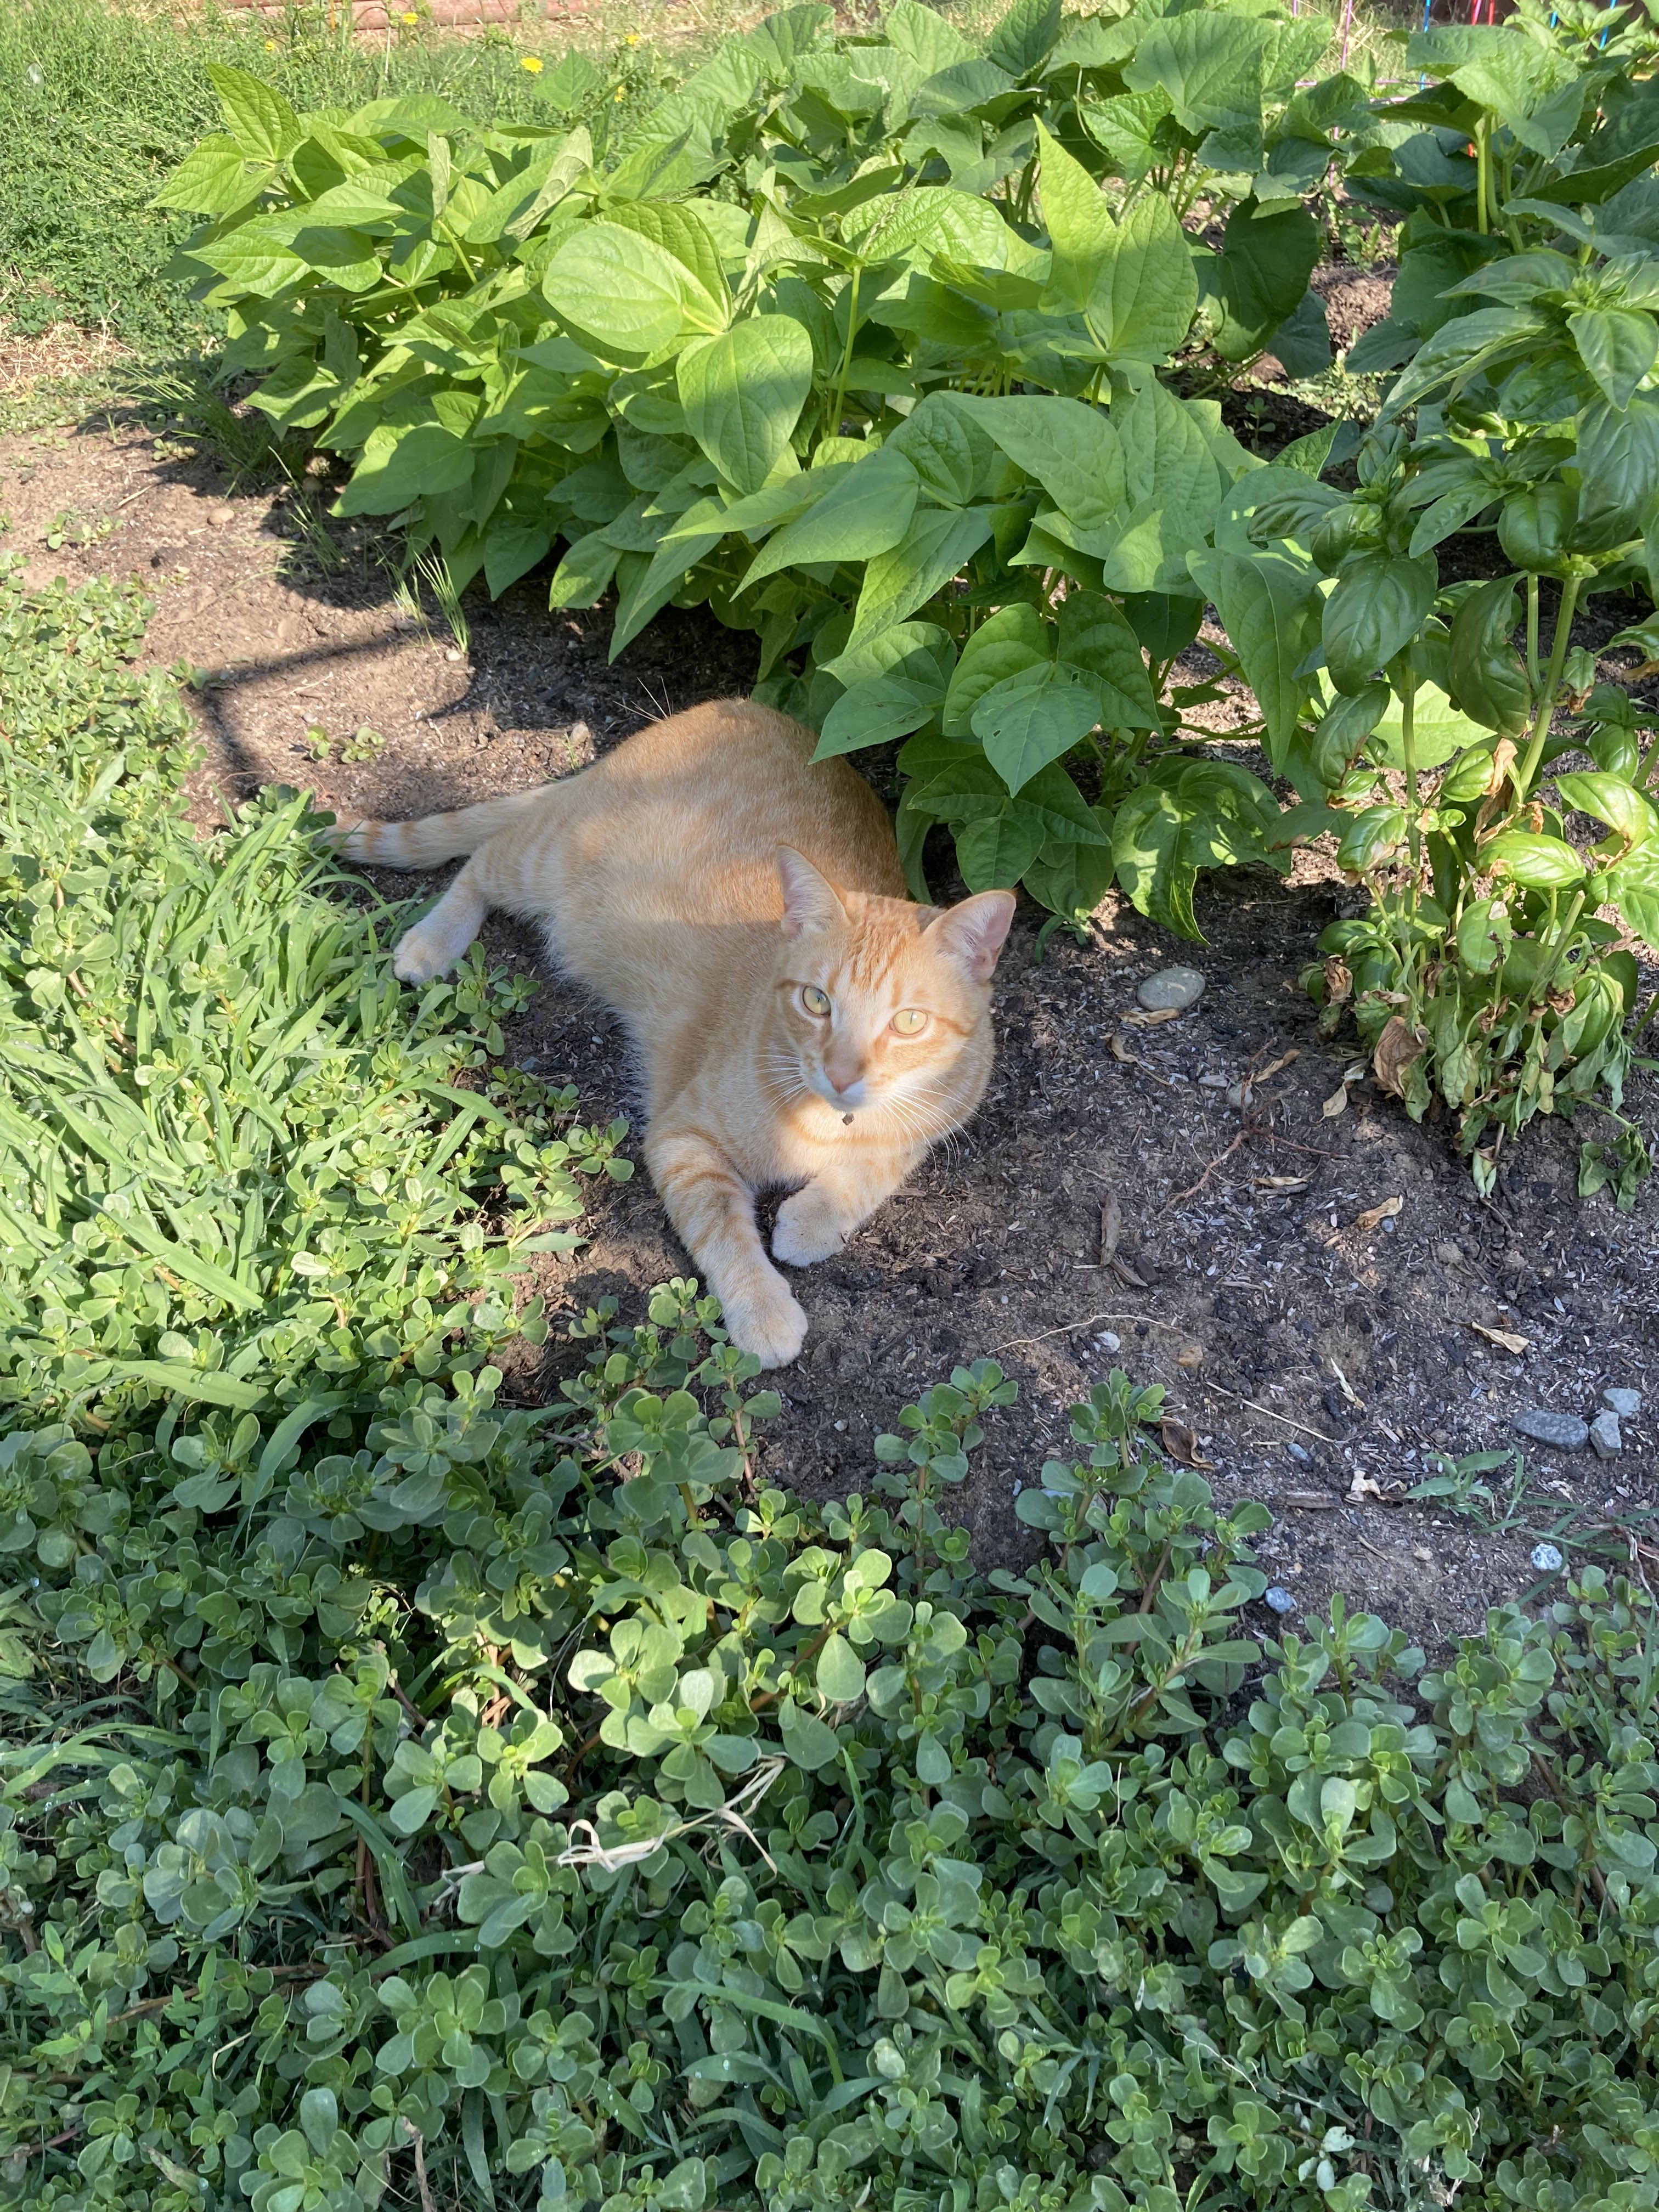
If you procrastinate with this work, as I do, the task at hand can be rather monumental I hate working in cold weather. I'd much rather stay inside, curled up with the heat brick known as Mango. The reliable rat hunter also seems to detest mud and cold as much as I do. This cat not only deters garden pests. He radiates enough heat to put a significant dent in winter heating bills.

At some point however, the gardening urge does begin to stir within me. The following missive is a method that I've developed over the past few years to prepare the backyard gardening area. I thought I would share this method of madness with you. Please do not misunderstand me, however. This is not the "right way" to prepare a gardening area. There is no "right way." Nor is there a "wrong way." It is "my way" and nothing more. Many people may find fault with this, or do things differently. That's fine by me. This is just my way of doing things and nothing more.

Rat Exterminator at Work
There was a time when I gardened extensively with raised beds that I built and maintained. Preparing raised beds for gardening use is MUCH easier. There was a point however, when I left those raised beds behind. If I was going to continue with this gardening adventure, all activity would take place the old fashioned way: in the clay dirt of a normal backyard. This forced me to develop a method that took a little more time to accomplish. But it also paid off with a unique gardening experience.

I can tell you that I have experienced a great deal of success with this method. You may experience the same type of success should you choose to emulate it. It is also a gardening or preparation method that greatly curtails the amount of weeds that pop up in the garden area. But, it does not eliminate them. The crab grass still makes its seasonal appearance. Several other "weed" varieties also seem to enjoy the garden prep and will announce their presence during the summer months. The only "weed elimination" strategy that seems to work for me is to dedicate a few minutes every morning of every day to find, locate and dig out the unwanted visitors.

Mantis Rototiller at Work
This weed elimination task isn't as difficult as it might sound. The weeds that do spring up are often quite easy to remove because they haven't had the time to develop tough and extensive root systems yet. This includes the dreaded crab grass.

I employ many tools during this method, but the biggest and best by far is the Mantis Rototiller. I consider the Mantis to be the best gardening investment I have ever made. This is the Mantis that is outfitted with the four cycle Honda engine. It is reliable. It is powerful. It starts immediately after a long and cold winter of zero activity. It cuts through heavy clay soil with ease. It also makes short work of pesky weeds with extensive root systems that have grown undisturbed through the winter months. I purchased this Mantis more than a decade ago, and it has yet to fail me.

Empty Garden Area with Weeds!
My method of garden preparation does not mean I put this tiller to work just once. It's not even used twice. It gets three or four turns in the garden area before the method of preparation is complete. I cannot imagine accomplishing this task without it, however. The Mantis doesn't replace all the hard work that must be done. But it does make it a tad easier. A turn with the Mantis will also leave your hands, arms and brains vibrating after an hour or two.

After I employ the trusty lawn mower and other garden tools to mow down a winter's worth of waste-high weeds, further weed elimination efforts take place in the garden area with the very handy and dandy weed whacker (also called a weed eater). I employ a normal shovel to dig out the tougher weeds like mallow, which also has a rather extensive and tough root system. There comes a point during this process where the garden area looks quite bare. Don't be fooled. The weeds are still there. They are just hidden by the dead material that the weed eater (whacker) and shovel efforts have already taken care of.

Mantis Tiller: Chop #1
That dead weed material isn't really dead though. In fact, it's just begging to be tilled right back into the garden area. I don't give into that weed wish. So, those chopped bits get raked out and cleaned up before I move forward. By the time I'm finished with this task, the ground is nearly bare dirt. It is at this point where I make a tough decision. Using any type of a garden tiller can be tough when the soil is dry following a dry spring. So, if it's needed, I put a sprinkler to work on that dirt patch for about 30-minutes. I let it sit overnight to let that water work its way in and help loosen the soil. This isn't always necessary. But water can play a key role in preparing the garden soil as long as it is used judiciously. Too much of anything can be a bad thing. Damp soil is the goal. Not a mud pit.

If the soil is right, it's time to put the Mantis tiller through it's first workout. This one is the toughest, on both machine and machine operator. I put it to work to till up a garden plot that hasn't been tilled for a year. That's a year's worth of soil compaction. Rows of last summer's tomato and pepper plants, cucumbers, herbs like basil, row vegetables plus walking paths tend to leave a lot of compacted debris behind. This is the big workout. The first chop usually takes the better part of an hour. The goal is a cut of at least six to eight inches in depth. This isn't all that difficult in a garden plot that has been tilled up the year before, but it still takes time and effort. This is the one workout that leaves you with vibrating hands, arms and brains.

The Dreaded Mallow
This first cut with the Mantis is the second step that I take to prepare my summer vegetable garden. Whether it's the toughest of all steps or not is a question that I will leave up to you. The six to eight inches of loose clay soil that contains plenty of compost thanks to previous gardening efforts is a good start. But, it's just that. A start. The job isn't finished. The big dig that takes place next will be outlined next in Part 2 of The Method.

<b>The Countdown IS On!</b>

HEAT BRICKS! It's January. It's COLD outside. If the high winds aren't whipping all the warmth from your gardening soul at the ...