Showing posts with label Cucumbers. Show all posts

Tuesday, May 21, 2024

Planting Party!

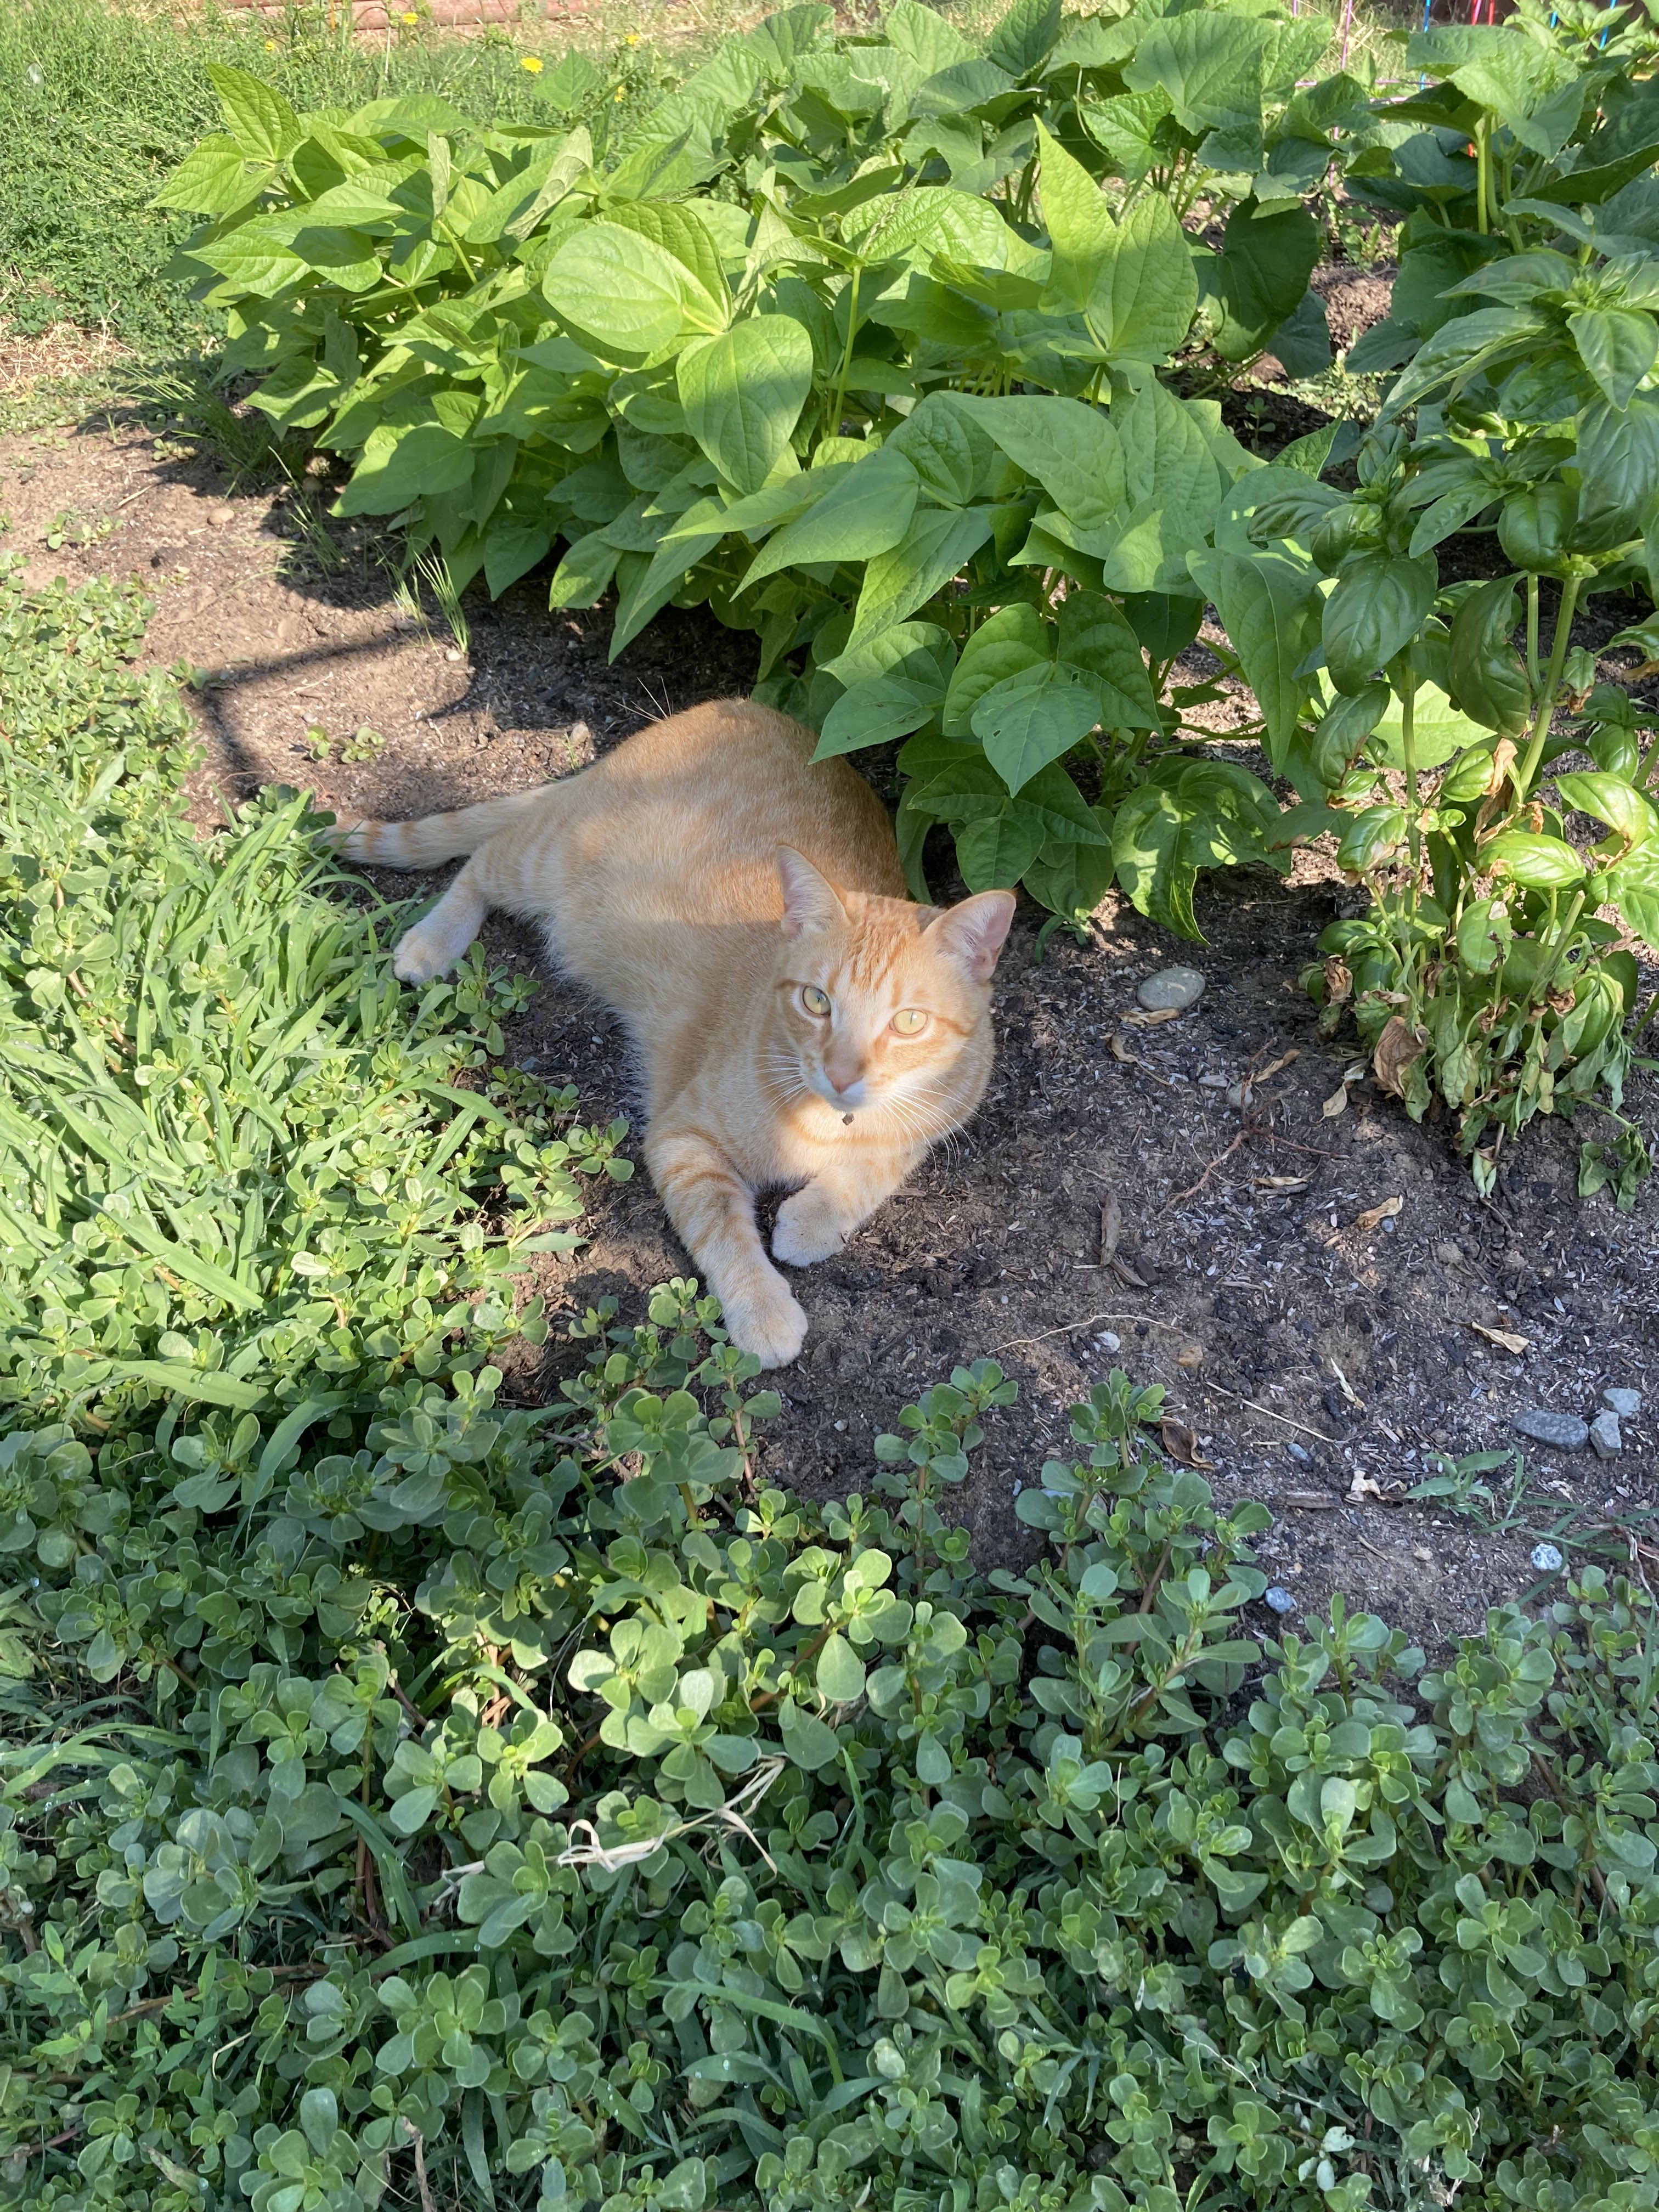
Garden Cat Mango on Patrol
The warm spring temperatures have finally arrived. The wet winter weather is finally behind us. The soil is now prepared is ready. It's time to plant the 2024 Summer Garden!

This is the start of a summer season that means overwhelming abundance in terms of bright and tasy heirloom tomatoes, the crisp crunch of heirloom variety cucumbers, green and yellow squash sliced lengthwise, drowned in olive oil, seasoned with salt and pepper and browned on a flaming summer grill.

But that's just the start! Yes, there's more! The summer garden also means a wide variety of bush beans, multiple varieties of basil, gigantic sweet bell peppers, an eye-popping assortment of hot peppers like the time honored jalapeno and a vast number of home-canning projects such as tomato sauces, tomato soups, plus tomato and hot pepper salsas.

2024 Summer Garden (Partial)
That doesn't even count the bags of home grown garden goodies that will be be packed up and delivered to neighbors near and far. A summer vegetable garden can provide that and more. It doesn't feed the needs of just one household. It can provide summer sustenance for many. This includes a never-ending supply of sweet, multi-colored cherry tomatoes. Summer gardens are the bomb. Every last morsel that springs forth from that summer soil is 100-percent good for the body and soul.

That's why I love summer gardens. How about you?

Preparing a backyard soil that consists of sticky, heavy clay was the first step. That preparation, outlined in previous posts called The Method Part I and The Method Part II, has created the perfect area for planting efforts. BUT, the job isn't quite done yet. The job leaves you with a large patch of soil that is perfect for planting. But still need to take steps to ensure that every inch of that soil is put to good use.

First Garden Trail
All gardens need access. Cutting yourself off from one side of a productive tomato plant, for example, is no good. A good garden needs narrow trails and lots of them so that every section can be reached in multiple ways. However, the last thing you want to do is create trails out of that great soil that has been created with amendments, rototilling and other garden preparation efforts.

So, my method of madness works in the following way: I create my first of many rows for the garden by laying out a series of markers, In my case? I use pieces of PVC cage parts that I created years ago and continue to put to work in the garden. These cage parts make for perfectly straight garden rows, and also play a role as a planting guide. But the first step is to cut an access trail right next to that first row.

Cutting a six-inch deep access trail next to that first and second row that will hold dozens of tomato plants creates piles of nicely amended soil. Instead of 18-inches of loose soil, each row set aside for growing efforts will have two feet or more. I'm certainly not going to walk all over that nice garden soil that I've taken multiple steps to create. I'm going to move it to where it's needed.

Garden Layout in Progress
Is this extra work? Extra stress on the legs? A workout for a cranky back? You bet it is. But the payoffs are what I like to call "layer cakes" of amended garden soils that will eventually hold starter plants OR rows of seeds. The mounds of really good soil that I will create with my pathway creation efforts still need to be raked level.

The entire garden resembles high and low sections by the time I'm finished. There are narrow access rows and trails cut into every section of the garden. The planting areas receive several extra inches of great soil, and both the dog and cat have trails to run up and down as they scare away rats and other garden thieves throughout the summer months. There's no place for the garden thieves to hide out. They either stay out of the garden, or risk the consquences.

Once this work is done, it's time to start the planting process. I learned many years ago that using a post-hole digging tool that is normally employed for fence posts is the best tool for planting tomatoes. The PVC pieces that I put into place earlier during the trail creation phase also serve as planting guides. The holes for each tomato starter plant are dug in the center of each PVC frame. A month later I will need to remove that frame to actually build the cage that will support monster plants later that summer. But, that job can wait for a little while.

Digging Plant Holes
There was a day and age when I once utilized fish heads and other parts of fish that had been cleaned and thrown away to place at the bottom of those planting holes. But that practice ended a few years for me due to recycling efforts that made this once easily accessible and desired garden amendment very hard to come by. So, the only thing that goes into that two-foot deep hole that I've created with the post-hole digger is the rootball of the tomato plant that I will place there. Everything is then covered with heavily amended soil, and it's time to move to the next hole.

The same system works just as well with the garden pepper starter plants, but the holes for those are not cut nearly as deep. That process moves quite a bit faster because there's not as much soil to cut through. It can take a day or more to dig the 45-50 planting holes I will need for each starter plant, but it saves a lot of bending and stress on the knees.

Cherry Tomato Plant Row
After planting every transplant that the garden will hold, the next step is cutting long rows in the soil layer cake of amended soil for seeds. Long rows are set aside for an heirloom cucumber called Sumter. Additional rows are created for heirloom bush bean plants that carry the time honored names of Blue Lake, Kentucky Wonder and Pencil Pod.

Bush beans grow well here. The Sumter Cucumber, which I discovered by complete accident a few years ago, also grows extremely well in this climate. What doesn't grow well in California? I've really yet to find any garden vegetable that does not flourish in this climate. I suppose it's the reason why I've stayed, while so many of my counterparts have run off to other areas of the country.

So you have it! I'm still working on other sections of the garden. There's always something to do. The garden effort really doesn't end. Because, by the time planting efforts end, it's nearly time to start enjoying the harvest. Then, the period of over-production starts. That's the signal to start providing to others, or multiple canning projects to save chunks of that summer garden for winter use.

As you might imagine, I enjoy this type of work very much.

Wednesday, May 1, 2024

The Method -- Part I

2023 Summer Garden
It is that time of the year again, isn't it? After watching a massive pile of weeds take over a once pristine gardening area, the time has come to clear it all out and make way for the new summer garden.

If you procrastinate with this work, as I do, the task at hand can be rather monumental I hate working in cold weather. I'd much rather stay inside, curled up with the heat brick known as Mango. The reliable rat hunter also seems to detest mud and cold as much as I do. This cat not only deters garden pests. He radiates enough heat to put a significant dent in winter heating bills.

At some point however, the gardening urge does begin to stir within me. The following missive is a method that I've developed over the past few years to prepare the backyard gardening area. I thought I would share this method of madness with you. Please do not misunderstand me, however. This is not the "right way" to prepare a gardening area. There is no "right way." Nor is there a "wrong way." It is "my way" and nothing more. Many people may find fault with this, or do things differently. That's fine by me. This is just my way of doing things and nothing more.

Rat Exterminator at Work
There was a time when I gardened extensively with raised beds that I built and maintained. Preparing raised beds for gardening use is MUCH easier. There was a point however, when I left those raised beds behind. If I was going to continue with this gardening adventure, all activity would take place the old fashioned way: in the clay dirt of a normal backyard. This forced me to develop a method that took a little more time to accomplish. But it also paid off with a unique gardening experience.

I can tell you that I have experienced a great deal of success with this method. You may experience the same type of success should you choose to emulate it. It is also a gardening or preparation method that greatly curtails the amount of weeds that pop up in the garden area. But, it does not eliminate them. The crab grass still makes its seasonal appearance. Several other "weed" varieties also seem to enjoy the garden prep and will announce their presence during the summer months. The only "weed elimination" strategy that seems to work for me is to dedicate a few minutes every morning of every day to find, locate and dig out the unwanted visitors.

Mantis Rototiller at Work
This weed elimination task isn't as difficult as it might sound. The weeds that do spring up are often quite easy to remove because they haven't had the time to develop tough and extensive root systems yet. This includes the dreaded crab grass.

I employ many tools during this method, but the biggest and best by far is the Mantis Rototiller. I consider the Mantis to be the best gardening investment I have ever made. This is the Mantis that is outfitted with the four cycle Honda engine. It is reliable. It is powerful. It starts immediately after a long and cold winter of zero activity. It cuts through heavy clay soil with ease. It also makes short work of pesky weeds with extensive root systems that have grown undisturbed through the winter months. I purchased this Mantis more than a decade ago, and it has yet to fail me.

Empty Garden Area with Weeds!
My method of garden preparation does not mean I put this tiller to work just once. It's not even used twice. It gets three or four turns in the garden area before the method of preparation is complete. I cannot imagine accomplishing this task without it, however. The Mantis doesn't replace all the hard work that must be done. But it does make it a tad easier. A turn with the Mantis will also leave your hands, arms and brains vibrating after an hour or two.

After I employ the trusty lawn mower and other garden tools to mow down a winter's worth of waste-high weeds, further weed elimination efforts take place in the garden area with the very handy and dandy weed whacker (also called a weed eater). I employ a normal shovel to dig out the tougher weeds like mallow, which also has a rather extensive and tough root system. There comes a point during this process where the garden area looks quite bare. Don't be fooled. The weeds are still there. They are just hidden by the dead material that the weed eater (whacker) and shovel efforts have already taken care of.

Mantis Tiller: Chop #1
That dead weed material isn't really dead though. In fact, it's just begging to be tilled right back into the garden area. I don't give into that weed wish. So, those chopped bits get raked out and cleaned up before I move forward. By the time I'm finished with this task, the ground is nearly bare dirt. It is at this point where I make a tough decision. Using any type of a garden tiller can be tough when the soil is dry following a dry spring. So, if it's needed, I put a sprinkler to work on that dirt patch for about 30-minutes. I let it sit overnight to let that water work its way in and help loosen the soil. This isn't always necessary. But water can play a key role in preparing the garden soil as long as it is used judiciously. Too much of anything can be a bad thing. Damp soil is the goal. Not a mud pit.

If the soil is right, it's time to put the Mantis tiller through it's first workout. This one is the toughest, on both machine and machine operator. I put it to work to till up a garden plot that hasn't been tilled for a year. That's a year's worth of soil compaction. Rows of last summer's tomato and pepper plants, cucumbers, herbs like basil, row vegetables plus walking paths tend to leave a lot of compacted debris behind. This is the big workout. The first chop usually takes the better part of an hour. The goal is a cut of at least six to eight inches in depth. This isn't all that difficult in a garden plot that has been tilled up the year before, but it still takes time and effort. This is the one workout that leaves you with vibrating hands, arms and brains.

The Dreaded Mallow
This first cut with the Mantis is the second step that I take to prepare my summer vegetable garden. Whether it's the toughest of all steps or not is a question that I will leave up to you. The six to eight inches of loose clay soil that contains plenty of compost thanks to previous gardening efforts is a good start. But, it's just that. A start. The job isn't finished. The big dig that takes place next will be outlined next in Part 2 of The Method.

<b>The Countdown IS On!</b>

HEAT BRICKS! It's January. It's COLD outside. If the high winds aren't whipping all the warmth from your gardening soul at the ...